Learning Journey: Working with Content Hub
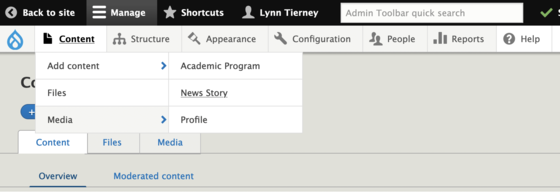
All news stories are created on the Content Hub webpage. You will need to be logged in to access the ability to make pages. On the top bar, click content, add content, then news story.
You will be taken to the Create News Story page where you can begin inputting your story's information into the various fields. Organizing information like this helps Content Hub understand your story and how to sort, organize, and display it.
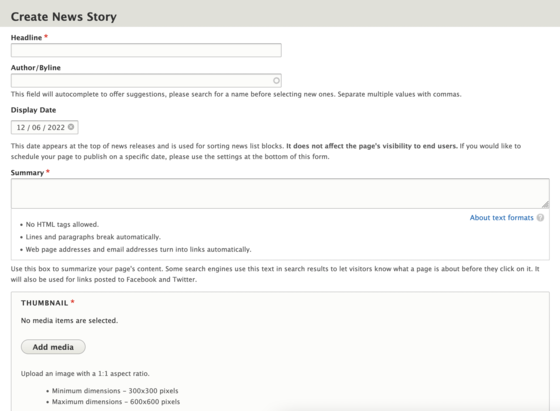
Headline is a required field. This is both what your article headline will be and what you will identify it by in Content Hub. You can change this later if necessary.
Author/Byline lets you add the name of any content hub contributor. Search for your name or the name of an appropriate author, then select the name to lock it in. This system ensures all articles written by one author are associated to them if you view the author page.
Display date is the date you want to show on the news article as its publication date. This does not impact when the page is published in any way. That will come later. However, if you need to backdate an article or set this for some time in the future, you can set it here.
The Summary field is required as it is both a preview for the article topic in lists and what is used for social media and search results previews. Making the summary a good representation of the article’s content will help boost its SEO ranking.
The Thumbnail field is also required and is also used for news list, search results, and social media previews. This image follows the Thumbnail image requirements. Using an image within the provided dimensions will help ensure your news lists do not have uneven thumbnail images.
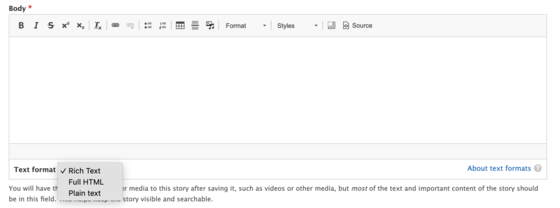
The Body field is where you will place your article content. You can place nearly anything you could put in a Basic Text block here. We recommend you use article readability best practices to break up your text using headers, quote boxes, and other text styling. Images and video may be embedded and are encouraged.
Once you are done formatting your article, you will need to tag topics and people mentioned in the article. These must be already added to Content Hub to be used. Topic tags will associate different articles on the same topic together. They can also be used to create custom filters. See the Topics page for more information on how you can utilize this field. The People mentioned in this story field works in much the same way, allowing a reader to see any other articles a given person is associated with, as well as background information on the person.
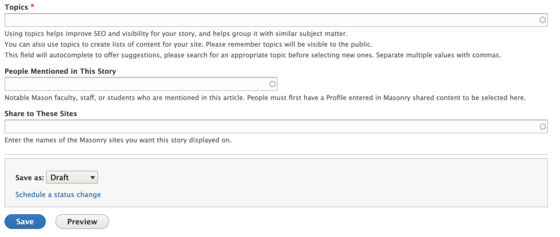
The next field is “share to these sites,” which is key to Content Hub’s functionality. If you want your article to show up on a site, you need to add it via this field. Much like topics or profiles, you must use the specific name registered within content hub for this to work. The benefit of this is that an article can be used on multiple websites, creating a network of content.
If you want an article to publish right away, change the status to Published and save it. If you are going to work on it more, save it as a Draft. If you want it to go live on a particular day, set it as a draft, then use “schedule a status change” to schedule the article. Want to see if your article looks good before it goes live? Try using Preview.